

My mother and I have some type of bake-a-thon pretty much every time I visit Louisiana. And why wouldn’t we? My mom has a chef’s kitchen with pretty much every tool and toy needed to make just about anything.
Doughnuts have been on my to-make list for several months. Plus, I wanted to support Kamal Grant (founder and head Doughnut Maker of Sublime Doughnuts) by buying his recent Sublime Doughnuts Cookbook, Homemade Doughnuts Techniques and Recipes. So, when my mom informed me last week that she has decided to work at Mary Lee Doughnuts when she retires, I knew doughnut-making would be the perfect project. I warned my mom, “Hey, that’s a pretty crazy idea! That’s gonna be so much hard work.” She replied by telling me that she’s used to hard work. I certainly couldn’t argue with that.
Making traditional doughnuts (not cake doughnuts) is a multi-step process. You can definitely do it in one morning, but it’s no mix-and-bake cupcake. If you want to make these yourself, I encourage you to get Kamal’s book–as it discusses the many complexities of doughnut making! I will try to hit some of the important pointers though.
This recipe is for traditional doughnuts–not cake doughnuts or potato doughnuts or any other doughnut variety. Of course, you can jazz them up with whatever fillings, glazes, or special toppings you want!
To make this process the most painless, you will need some special tools: a rolling pin, stand mixer, scale, spray bottle, thermometer, large pot for frying, and doughnut cutter.
**I must caution you. Some of the recipes I post are more for inspiration than replication. I have made doughnuts a total of one time! I am no doughnut expert, and I did read an entire book about making doughnuts before I made an attempt. So, that being said, here is the recipe that I used. But, I do caution you to do whatever reading on the process you can!
Homemade Doughnuts Recipe
Step 1: Make the Dough.
Ingredients for Dough:
All Purpose Flour, 818g
Sugar, 112g
Baking Powder, 7g
Salt, 14g
Rapid Rise Yeast, 42g
Hot (but not boiling) Milk, 454g
Unsalted Butter, 84g
Eggs, 2 large
Oil (for frying)
- Weigh the dry ingredients and place in a large bowl (except yeast). Set aside.
- Weigh the wet ingredients and place in stand mixer bowl (use dough hook attachment). Place dry ingredients on top of wet ingredients. Add the yeast last to prevent it from getting wet.
- Turn the mixer on low speed until you have a homogenous dough, 1 minute.
- Turn the mixer to medium speed and mix until there is full gluten development, 10-12 minutes. (To check for gluten development: Take a small piece of dough and stretch it in a square a couple of inches wide. If it tears, then there is not full gluten development. If it becomes translucent, there is full gluten development and the dough is ready).
- Remove the dough from the bowl and place onto a floured surface. Let the dough rest for 5 minutes.


Step 2: Roll out and Cut the Dough and Proof the Doughnuts
- Begin rolling the dough, starting from the center, until t is 3/4 inch thick. Allow the dough to rest for another 5 minutes.
- Using a well-floured doughnut cutter, cut out doughnut rings and place them on a glass plate or other microwave-safe dish.
- Proof the doughnuts by place one cup of boiling water in the back of the microwave, along with a plate of doughnut rings. Put the microwave on its lowest power setting, and cook in one-minute intervals for up to 5 minutes. Check each minute to see if they dough has been properly proofed (It is proofed when the dough springs back when touched).
- After removing the proofed dough, spray the doughnuts with a water bottle. Then, place a moist towel over the doughnuts and let them rest at room temperature for 30-60 minutes.


Step 3: Frying the Doughnuts
- Pour the oil to a depth of 3 inches (I used my 5.5 qt round Dutch Oven–it was the perfect size) and heat to 370 F (188 C).
- Using chopsticks or tongs, carefully drop 3 or 4 doughnuts into the oil. Let sit for 90 seconds. Gently flip each doughnut using the chopsticks and allow the other side to fry for 90 seconds. Remove the doughnuts and place on paper towels or a rack to cool and drain. (If using the basic glaze, immediately dunk the doughnuts in glaze before allowing to cool.)


Step 5: Glaze, Fill, and Decorate the Doughnuts
I used the most basic glaze. I also melted milk chocolate and added the tiniest bit of milk and dunked some doughnuts in the chocolate (which worked fabulously!)
Honey Glaze: 1 pound (454 g) powdered sugar; 1/2 teaspoon vanilla extract; 1 tablespoon honey or light corn syrup; 5 tablespoons milk (I added a lot more milk to thin the glaze out. It was way too thick for my liking. So, add more milk if you want a thinner glaze.)
Place the powdered sugar, vanilla, and honey in a bowl. Heat up the milk and drizzle it in, stirring, until all lumps are gone and it is smooth.
Once fried, immediately dunk the doughnuts in the glaze on each side, then place on wire rack to cool and allow the glaze to drip off.

Fill with your favorite fillings! I will be doing a later post with more intricate doughnut fillings and glazes 🙂 Enjoy!

Did you make this receipe?
 Tag @foodieinnewyork on Instagram
Share this recipe
you might also like


about vallery
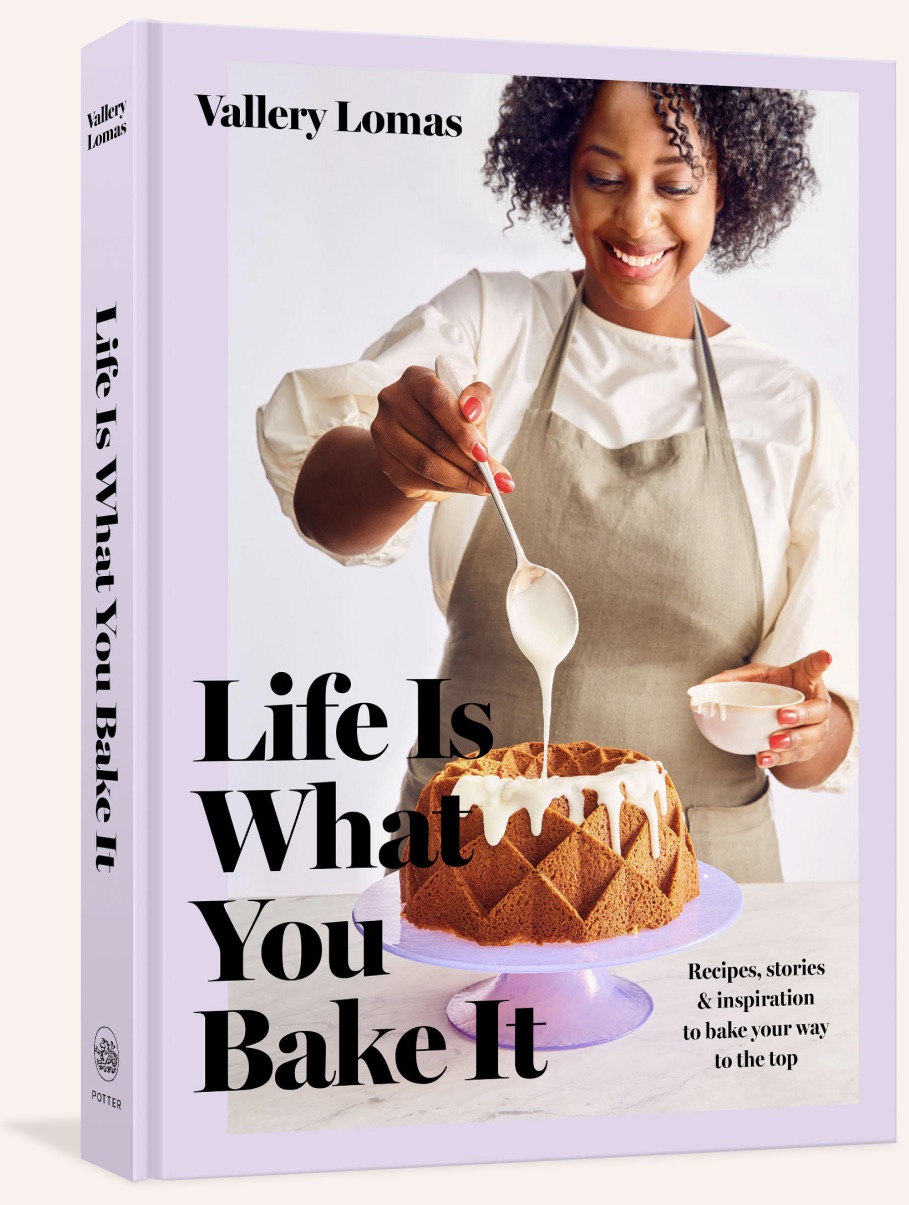
I am a lawyer-turned-baker. I left my 9-5 office job because I wanted to create recipes, videos, and most of all—Bake! I won the Great American Baking Show, and my debut cookbook Life Is What You Bake It contains some of the winning recipes! My motto is simple: When life gives you lemons, make lemon curd. We have the power to turn tart situations into sweet ones, and it’s my mission to teach people how.

Get exclusive content, recipes, and videos delivered straight to your inbox!
categories
- 25 Days of Christmas
- Africa
- Appetizers
- Art
- Asia
- Baking
- Basic Recipes
- beer
- Biscuits and Scones
- Bordeaux
- Bread
- Breakfast
- Breakfast Breads
- Brunch
- Cakes
- Central America/South ...
- Cobblers, Pies & Tarts
- Cocktail Parties
- Comfort Foods
- Cookies
- Cookies & Bars
- Cooking and Baking Tips
- Creole & Cajun
- Culture
- Cupcakes
- Desserts
- Dinner
- DIY Crafts
- Doughnuts
- Drinks
- England
- Entertaining
- entrees
- Europe
- Everyday Meals
- Fall/Winter
- Farmer's Market
- France
- French
- General
- Giveaways
- Grilling
- Halloween
- healthy
- Holidays
- Holland
- Impressive Challenge
- International Cooking ...
- International Dining E...
- Los Angeles
- Lunch
- Mexico/Caribbean
- Morning Treats
- My Life in France
- My Life in NYC
- My Musings on Life
- New Orleans
- New York City
- Norway
- null - null
- NYC
- NYC: Art and Culture
- Paris Patisserie
- Piece of Cake
- Restaurants
- Salads and Soups
- Seasonal
- Smoothies
- Spain
- Special Occasions
- Spring/Summer
- Sweet Home Louisiana
- Travel
- Travel Tips
- Travel-Inspired Dishes
- Uncategorized
- Unique Dining Experiences
- Vegan
- Vegetarian Dishes
- Vegetarian/Vegan
- Videos
- Washington DC
- wine
- Wine Tips
- Winery Visits
- Winter Cooking Favorites
- Winter Holiday Favorites
comments